DIY STAIR RAILINGS
THE PROCESS
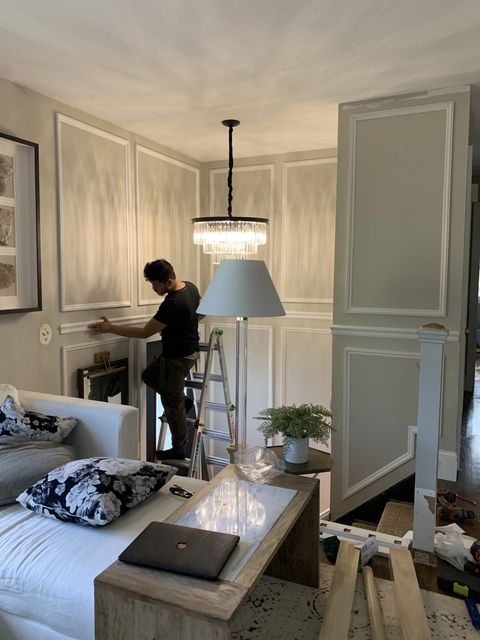
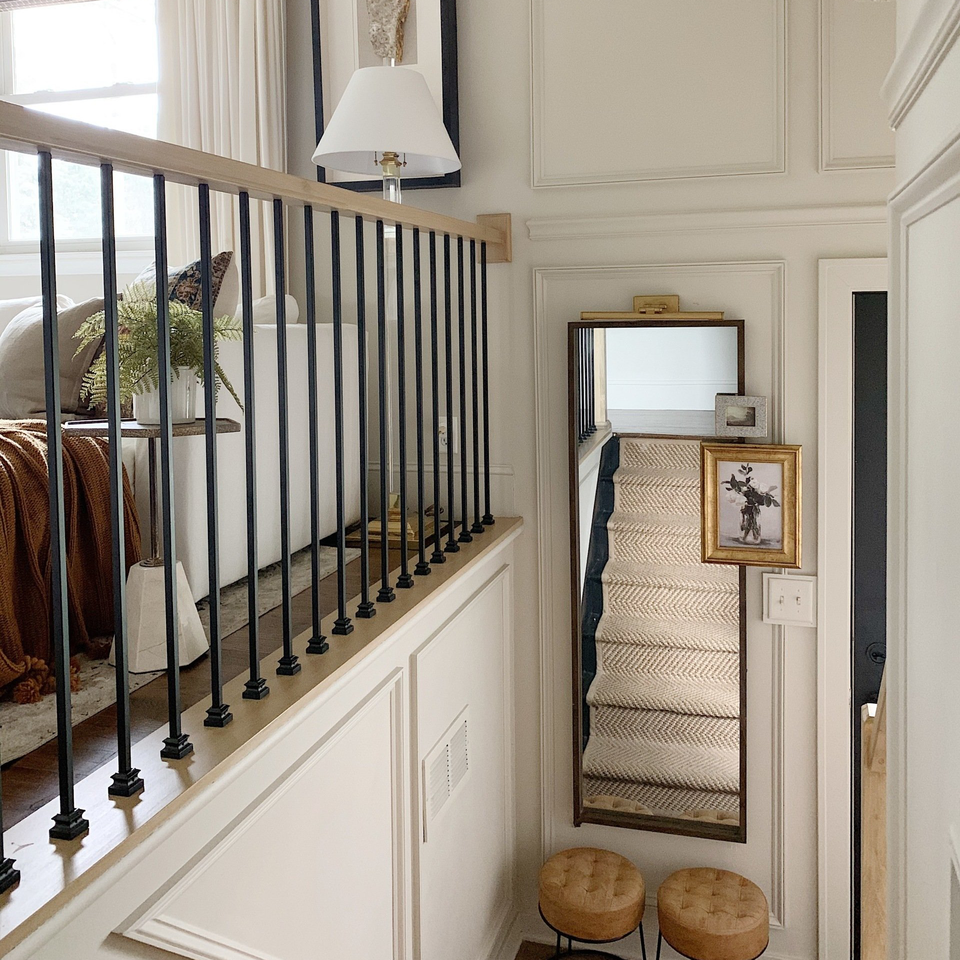
Installing wainscoting with part of the old railing still in tact.
The motivation for this project came from our entryway refresh project. I painted the stairs black, added a runner and replaced the flooring with the same LVP that's on the lower level. I quickly realized how badly the railings needed to be done. The board & batten was extremely banged up so that needed to go as well. My new plan was to add wainscoting with a more modern hand rail.
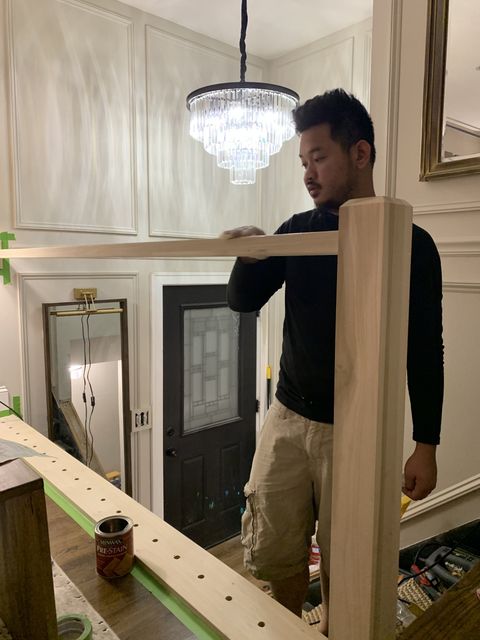
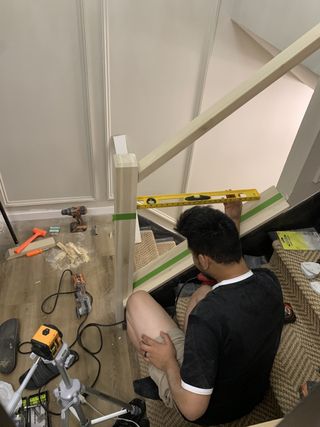
After we demo'd the old railings, we looked at how it was constructed and used the exact same layout to make it easier. We cut & installed the shoe rail, hand rail and newel posts first. There are fastening installation kits that make this a pretty simple process.
We bought the same amount of balusters and kept the dimensions the same as well. These balusters are skinnier than our original wooden ones, so we took the length of the railing and divided it by the amount of balusters that we were using. This gives the center measurement of where each baluster hole should be on the shoe rail. We used a laser level lined up with each hole to mark the holes underneath the top hand rail. We crossed our fingers and drilled the holes, hoping they would line up perfectly!
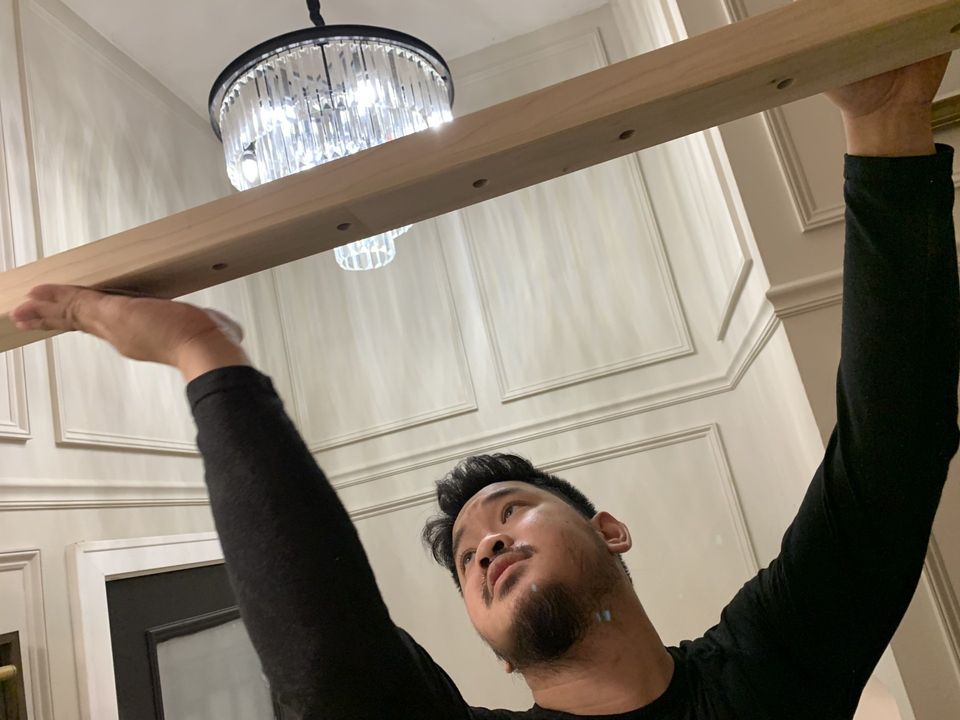
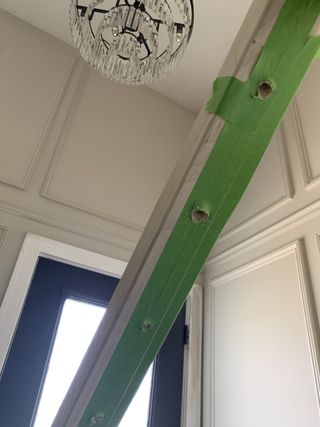
The real struggle of this entire project was getting the holes for the angled railing to line up. The angles basically threw us off. We eventually figured it out and got it all to line up perfectly. Tip* Use painters tape to make your marks on instead of directly on the wood.
- Newel post installation kit - used to connect posts to the floor.
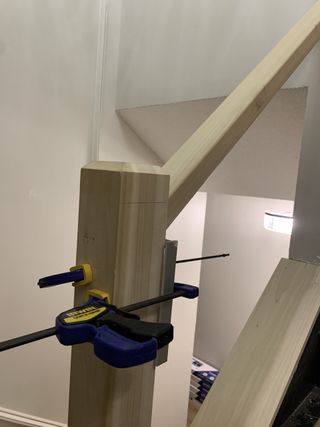
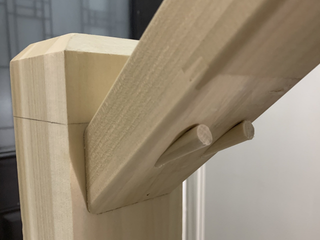
- Angled railing with pocket screws to attach the handrail to the newel post. We used dowels to plug the holes, then cut & sanded them smooth.
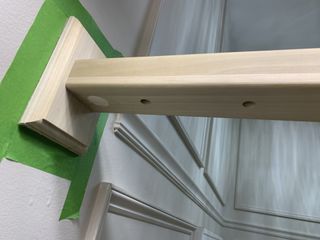
- Newel post installation kit - used to attach the hand rail to the rosette on the wall and the newel post on the other end. This kit comes with plugs.

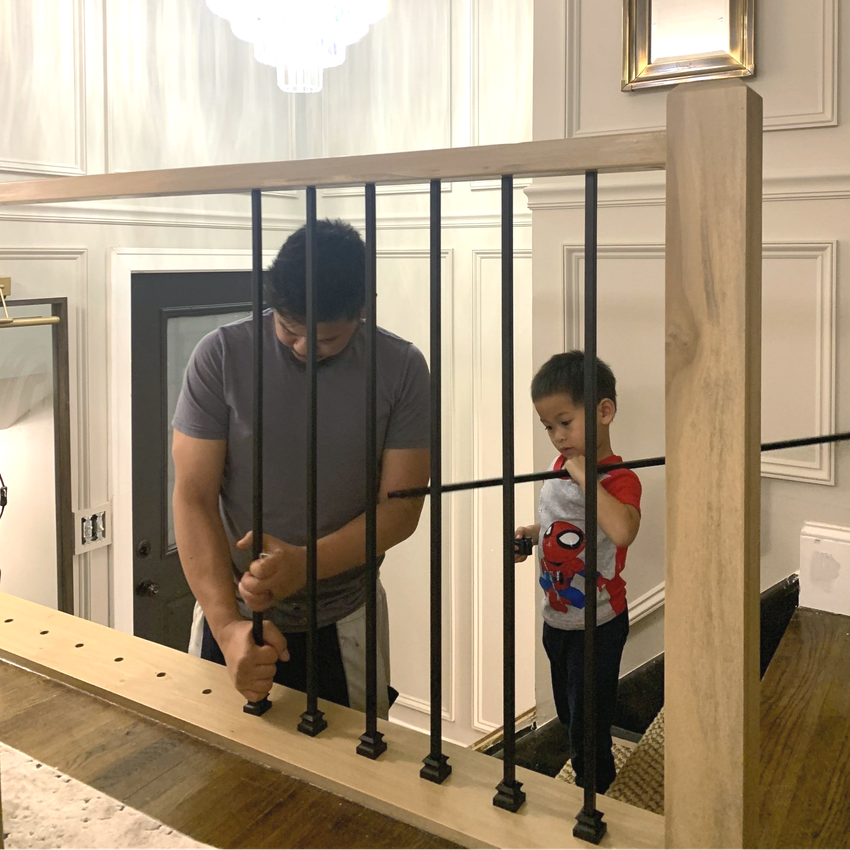
Roman loved helping is daddy test fit the balusters.
Each iron baluster needed to be cut down to length. They're hollow which makes it super easy. We put the flat shoes on and inserted them into the holes. The flat shoe has a screw set that you tighten to keep everything in place. This process went by so fast! We were test fitting first just to make sure we did everything correctly.. plus we were just so excited to see it all in place, lol. We took it all off after and prepped the wood for stain, using our favorite stain combination of course! We did the final install of the balusters after everything was stained and sealed with poly.
- 1 COAT SIMPLY WHITE
- 2 COATS GOLDEN OAK
- 1 COAT WEATHERED OAK
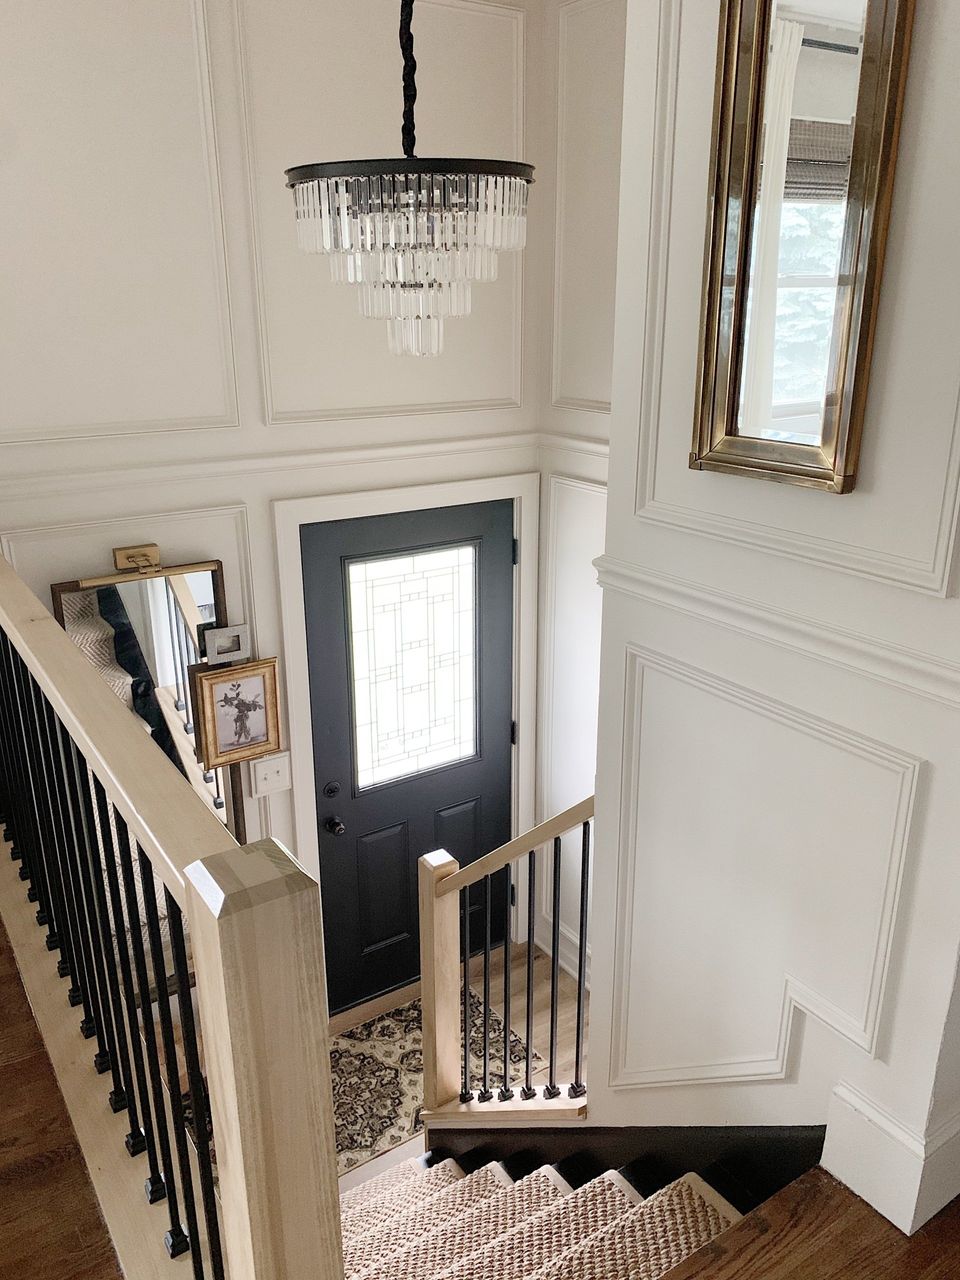
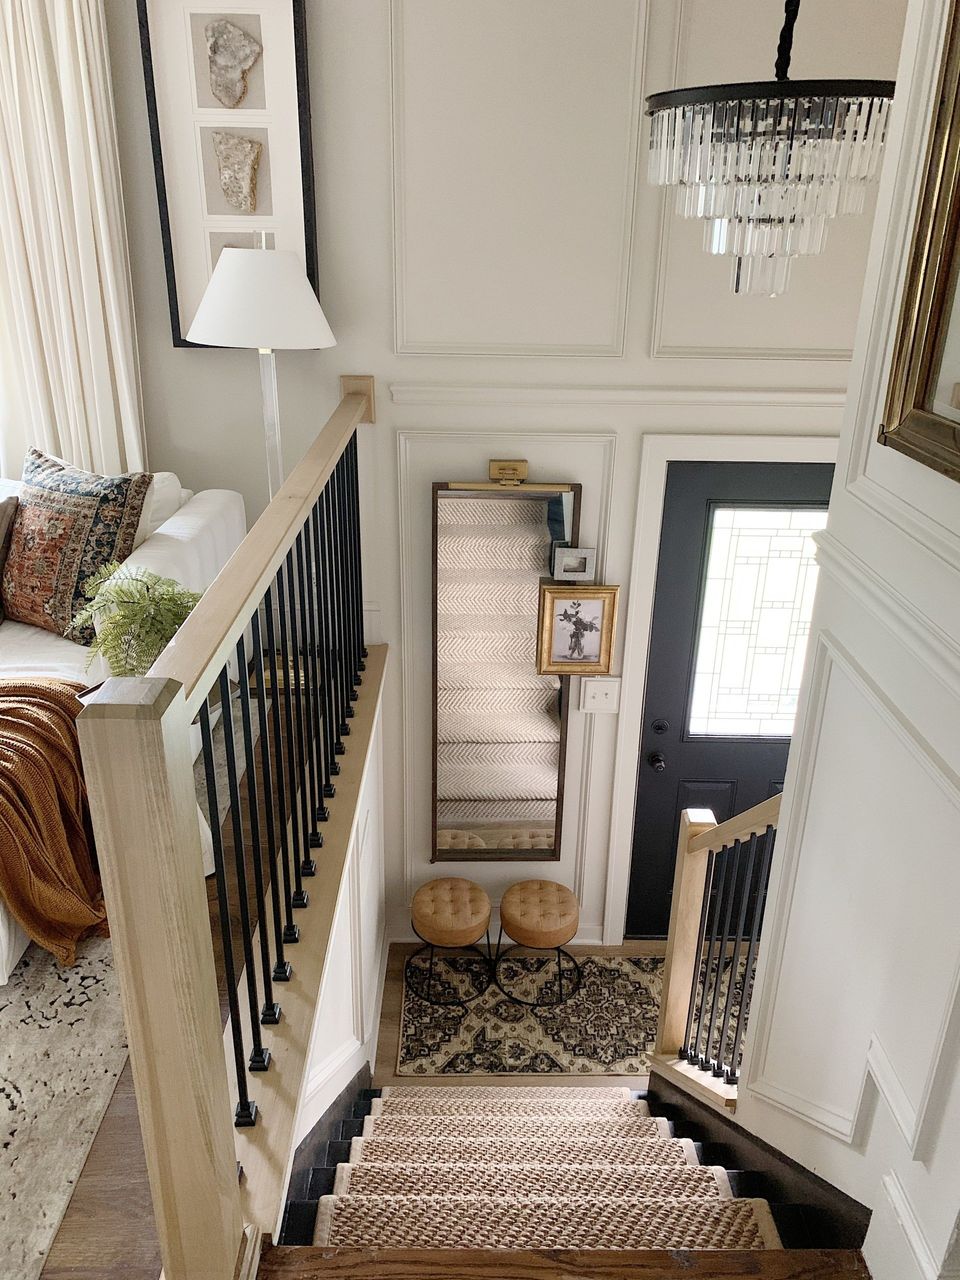
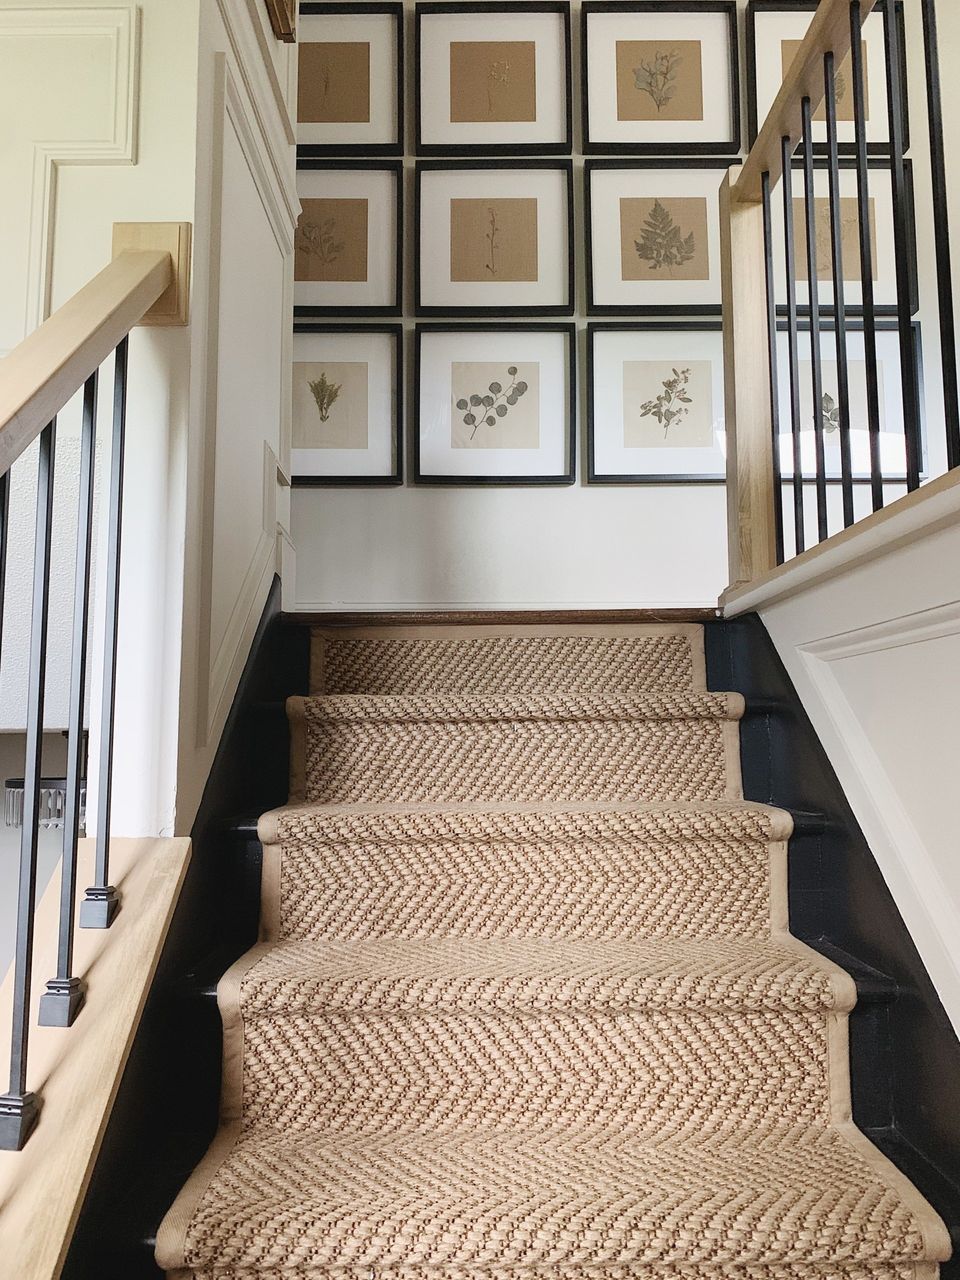
THE FINISHED LOOK
The before
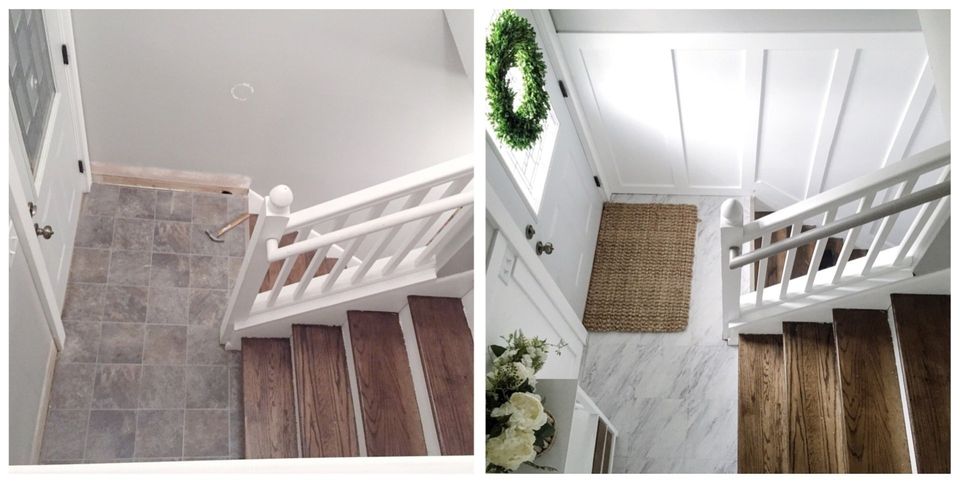
Let's take it back to a real throwback photo! This was the entryway when we first moved in (except the railings were oak). We went through many different phases to get us by until we were ready for a remodel. The second photo was beautiful with the white board & batten, railings and faux marble tile but it wasn't practical for such a high traffic area. The stair treads and walls got banged up and the floor was impossible to keep looking pristine.
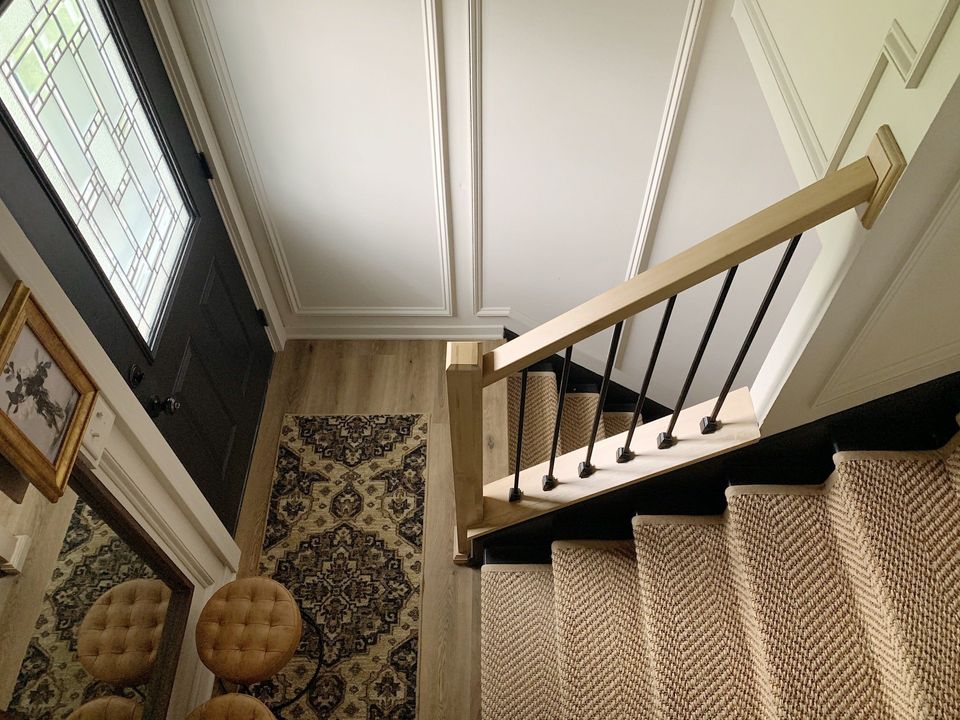
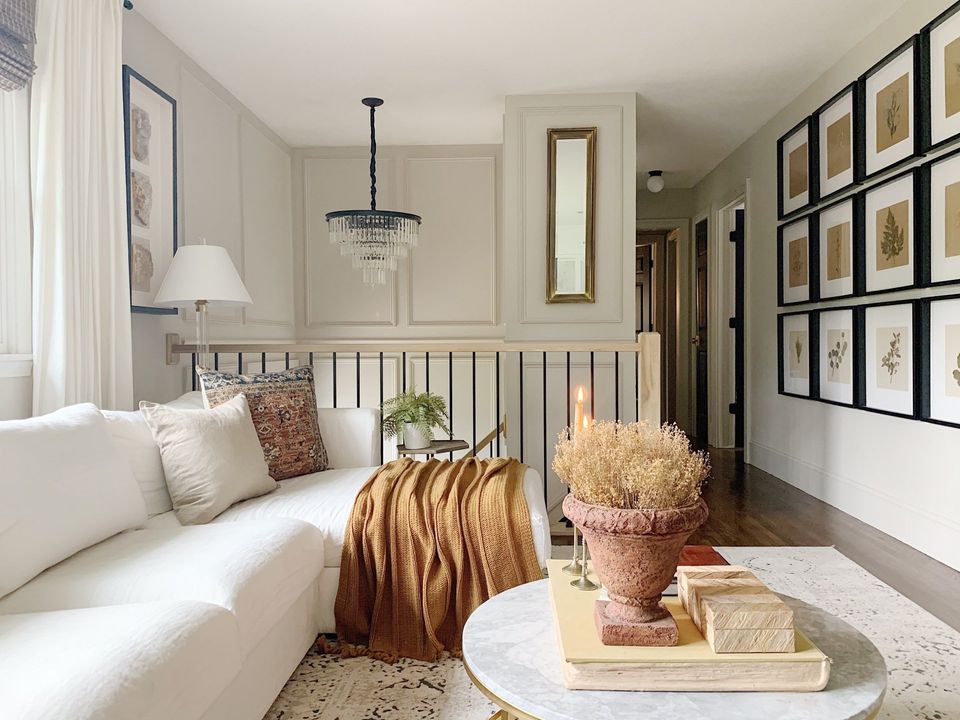
What a difference! I'm obsessed with how much more warm & inviting it feels when you first walk into the house.
Would you take on a DIY stair railing project like this? As intimidating as it may seem, it wasn't as difficult as I had anticipated. With the proper tools and correct measurements, it was a breeze (for the most part). If you're interested in taking on a DIY like this and have any questions, feel free to reach out! I'm always happy to help.
All materials linked below. Thanks for stopping by!